
Estates
Getting Started
Thank you for purchasing Estates, the most versatile and flexible jamstack template, Built by Stackrole using Gatsby and Netlfiy CMS.
Introduction
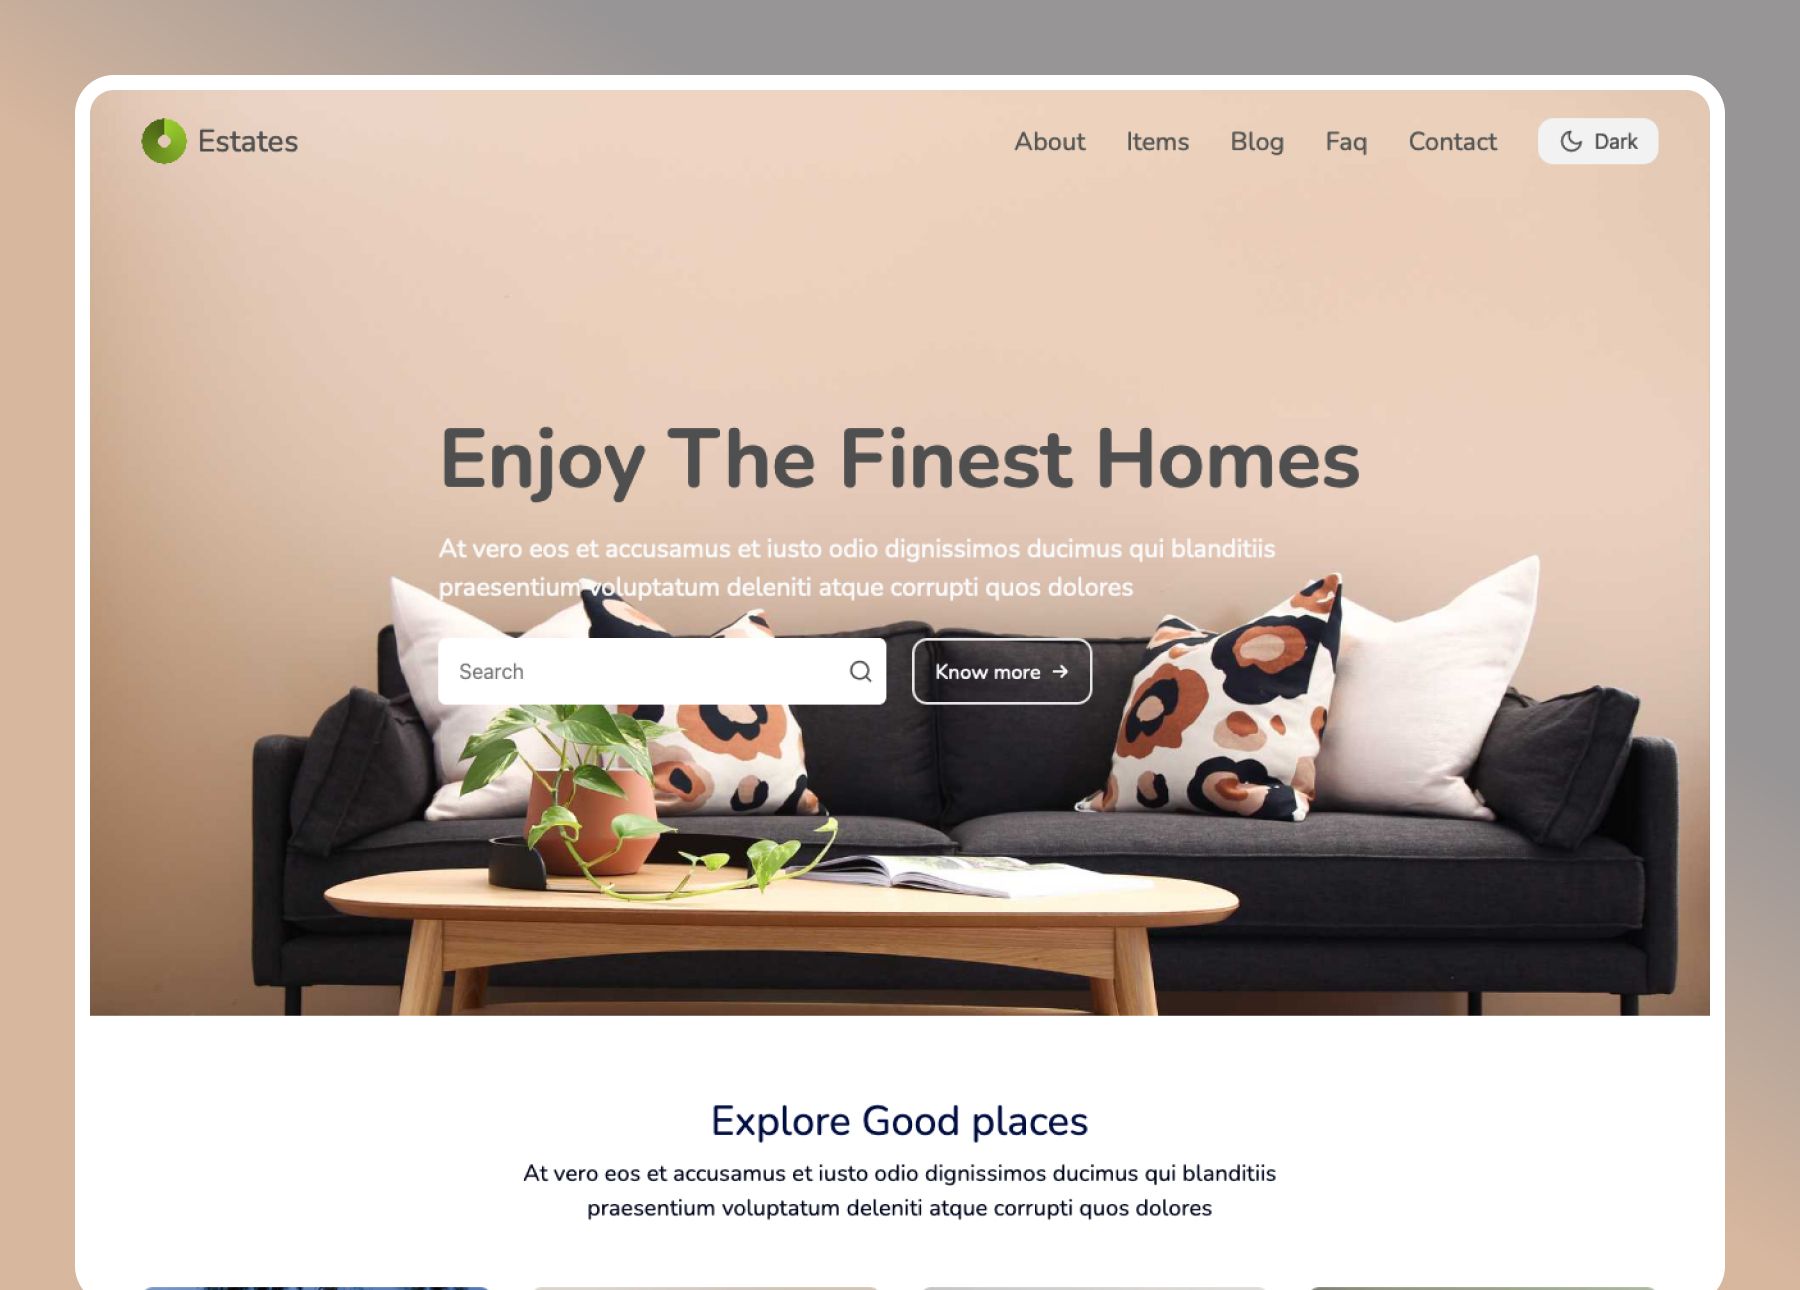
Estates comes with Home, About, Items, Blog, Faq, Contact pages. Each having a unique level layout and color customizations.
In this documentation, we will walk you thru each and every step that helps you fully customize and manage your content.
In this guide, we will walk you through step-by-step guidelines. To help launch your website.
Folder Structure
Estates Starter mostly follow this folder structure:
.
├── src
│   └── components
│   └── content
│   └── gatsby-plugin-theme-ui
│       └── index.js
│   └── pages
│   └── templates
│   └── util
├── static
│   └── admin
│   └── assets
├── gatsby-config.js
└── package.json
Note: if you migrating/updating your website keep a backup of
src/contentandsrc/utilfolder as these contain all the date required for the website
Local Development
Prerequisites
To get Gatsby working, you need the following installed
Once installed, you can verify the same from your terminal.
node -v
# v12.18.3

gatsby -v
# Gatsby CLI version: 2.19.1

yarn --version
# 1.22.5
Note: You can learn more about using command line interface (CLI) on your computer see instructions for Mac, instructions for Windows or instructions for Linux.
Creating a Website
After downloading your Estates package from Gumroad, Unzip the zip file. Inside the package, you will find the following folder structure:
.
├── starter
├── documentation
You need to change the directory into the starter
cd starterNote: you need Gatsby CLI and Yarn installed prior to this
Development
Now, run yarn install
yarn installOnce the installation is complete, run yarn start to start the server.
yarn startAfter the development server is running it will show a URL from where you can see your website in action, mostly it would be http://localhost:8000
Netlify CMS in Local
To use Netlify CMS in the local environment, run the following command:
yarn cmsNow visit http://localhost:8000/admin
Note: Make sure you have
local_backend: trueinstatic/admin/config.yml
Once you are on Netlify CMS, you can navigate to Page, Items, Menu, Appearance, and Settings to manage your website content and setting
You can select any collection to create, edit, and delete content
Manage Pages
Home
Goto Pages > Home, here you can manage page info, featured images, Services and Customers
About
Goto Pages > About page, here you can manage page info, body of the page, Teams, and Testimonials
Faq
Goto Pages > Faq, here you can manage page info, and add Faq's
Contact
Goto Pages > Contact, here you can manage page info, and Google map
Posts
Goto Pages > Posts, here you can manage page info
Items
Goto Pages > Items, here you can manage page info
Manage Collections
Items
Goto Items, here you can add a new item and manage page info, Title, Price, SEO description, Featured image, Slide images and category.
Posts
Goto Posts, here you can add new posts and manage Post info, SEO description, body, and tags
Tags
Goto Tags, here you can add new tags and manage its title. You can select a tag inside Posts.
Each tag page will contain all posts listed under their respective tag.
Categories
Goto Categories, here you can add new categories and manage its title and image. You can select a category inside Items.
Each category page will contain all Items listed under their respective category.
Menu
Goto Menu, from here you can manage the header menu.
Appearance
Goto Appearance, from here you can manage the Default and Dark theme colors, Site layout and Site font.
Manage Settings
Settings play a key role in managing your website. Make sure, you stop your server(ctrl+c) and restart the server(yarn start) after changing the settings.
General Settings
Goto Settings > General, Change your Site title, Website URL, SEO description, Favicon, and other settings.
Integration
Goto Settings > integrations to manage Google Analytics, Convertkit, and Disqus
Social Icons
Goto Settings > Social Icons, Manage social media icons on the footer.
Footer
Goto Settings > Footer, Here you can manage footer info
Deploying & Hosting
There are many awesome platforms to help you take your Gatsby website. Here are the instructions for Hosting Gatsby websites available on Gatsby's docs.
To take full advantage of Estates you need to host with Netlify, where you can pair with Netlify CMS to manage the content otherwise you can always use markdown and JSON files to manage content and settings.
Netlify
Once you have finished adding content your need to create a Github Private Repository. This repository should have contents from the starter folder we created.
- Goto
Netlifyand signup - Click New site from Git
- Connect your Github account
- Search and Select your repo.
- Leave build settings as default and Click Deploy
Your site deployment process will start and the website will be live in few minutes. Netlify will you give your site URL. for example https://your-site.netlify.app
Configuring Netlify CMS
- In GitHub, go to your account Settings, and select OAuth Apps under Developer Settings.
- Select Register a new application.
-
For the Authorization callback URL, enter
https://api.netlify.com/auth/doneand homepage URL must be your Netlify site URL, and The other fields can contain anything you want.
New Github OAuth app registration -
When you complete the registration, you’ll be given a Client ID and a Client Secret for the app. You’ll need to add these to your Netlify site:
- Go to Site settings > Access control > OAuth.
- Under Authentication Providers, select Install Provider.
- Select GitHub and enter the Client ID and Client Secret, then save.
- Goto to your-site.netlify.app/admin/, and log in with your Github account.
You can read more about using OAuth provider tokens on your Netlify site here: https://docs.netlify.com/visitor-access/oauth-provider-tokens/#setup-and-settings
Adding domain
Connecting a domain name to a Netlify website is fairly simple. Check out this article we wrote on Adding custom domain for Netlify website on Stackrole
Support
Thank you, We really appreciate you taking the time to build your website with our Estates. We would love to get your feedback.
If you are facing issues, please feel free to contact us via email hi@stackrole.com.
We would love to see what you have built, please share your website with us @stackrole
😀 ❤️ 🎉